


Cabinet Makeover Magic: How to Paint Like a Pro in 10 Easy Steps
Transform Your Kitchen with Vibrant Colors and Expert Techniques Without Breaking the Bank
Are you looking to refresh your kitchen without the hefty price tag of a full renovation? Repainting kitchen cabinets is a cost-effective way to breathe new life into your space. With the right colors and techniques, you can transform your kitchen into a vibrant, welcoming space. This guide will walk you through the process of cabinet makeover magic, ensuring professional results that will make your kitchen shine anew.
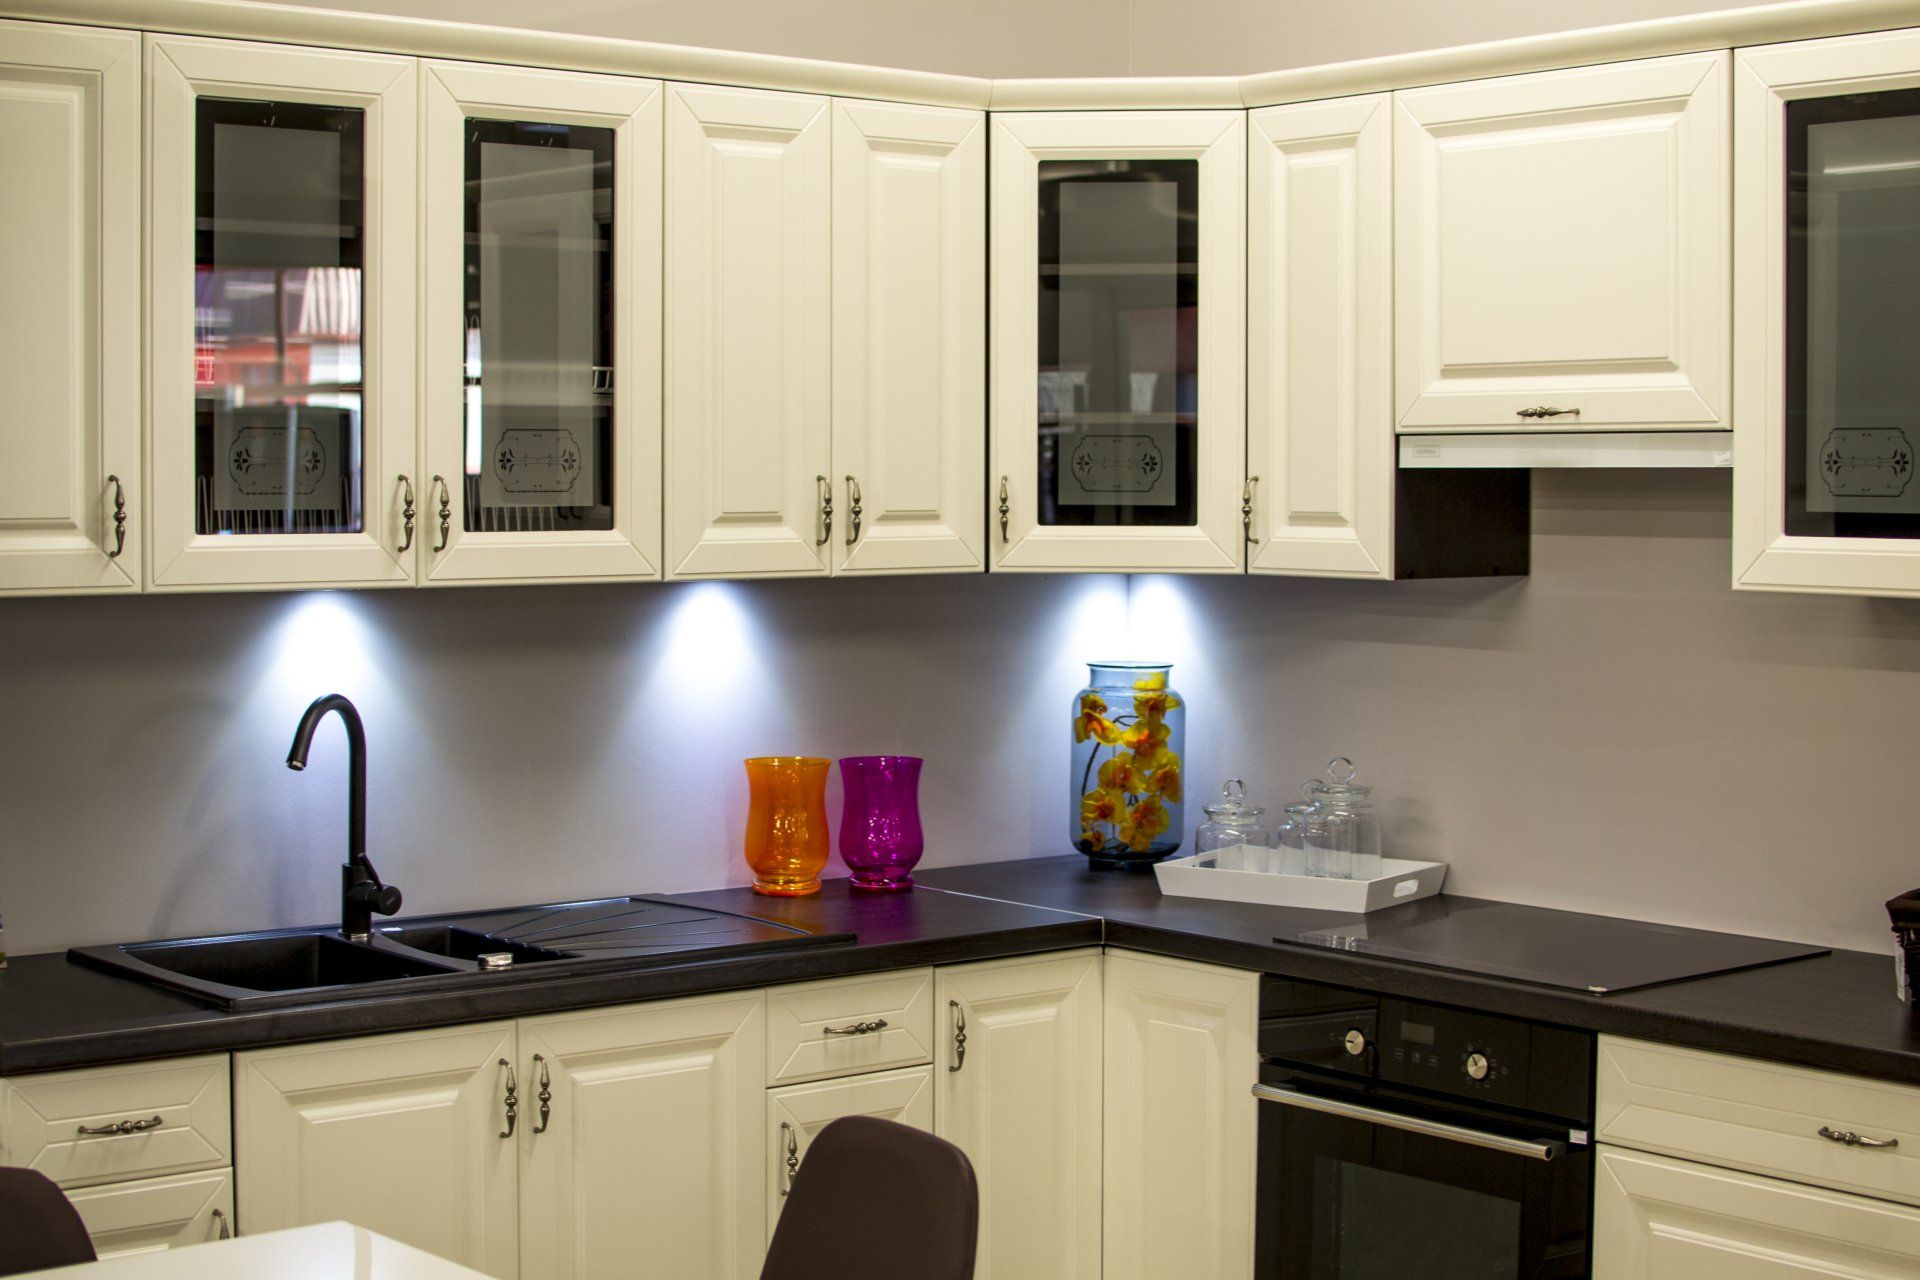
Step 1: Choose Your Kitchen Cabinet Colors
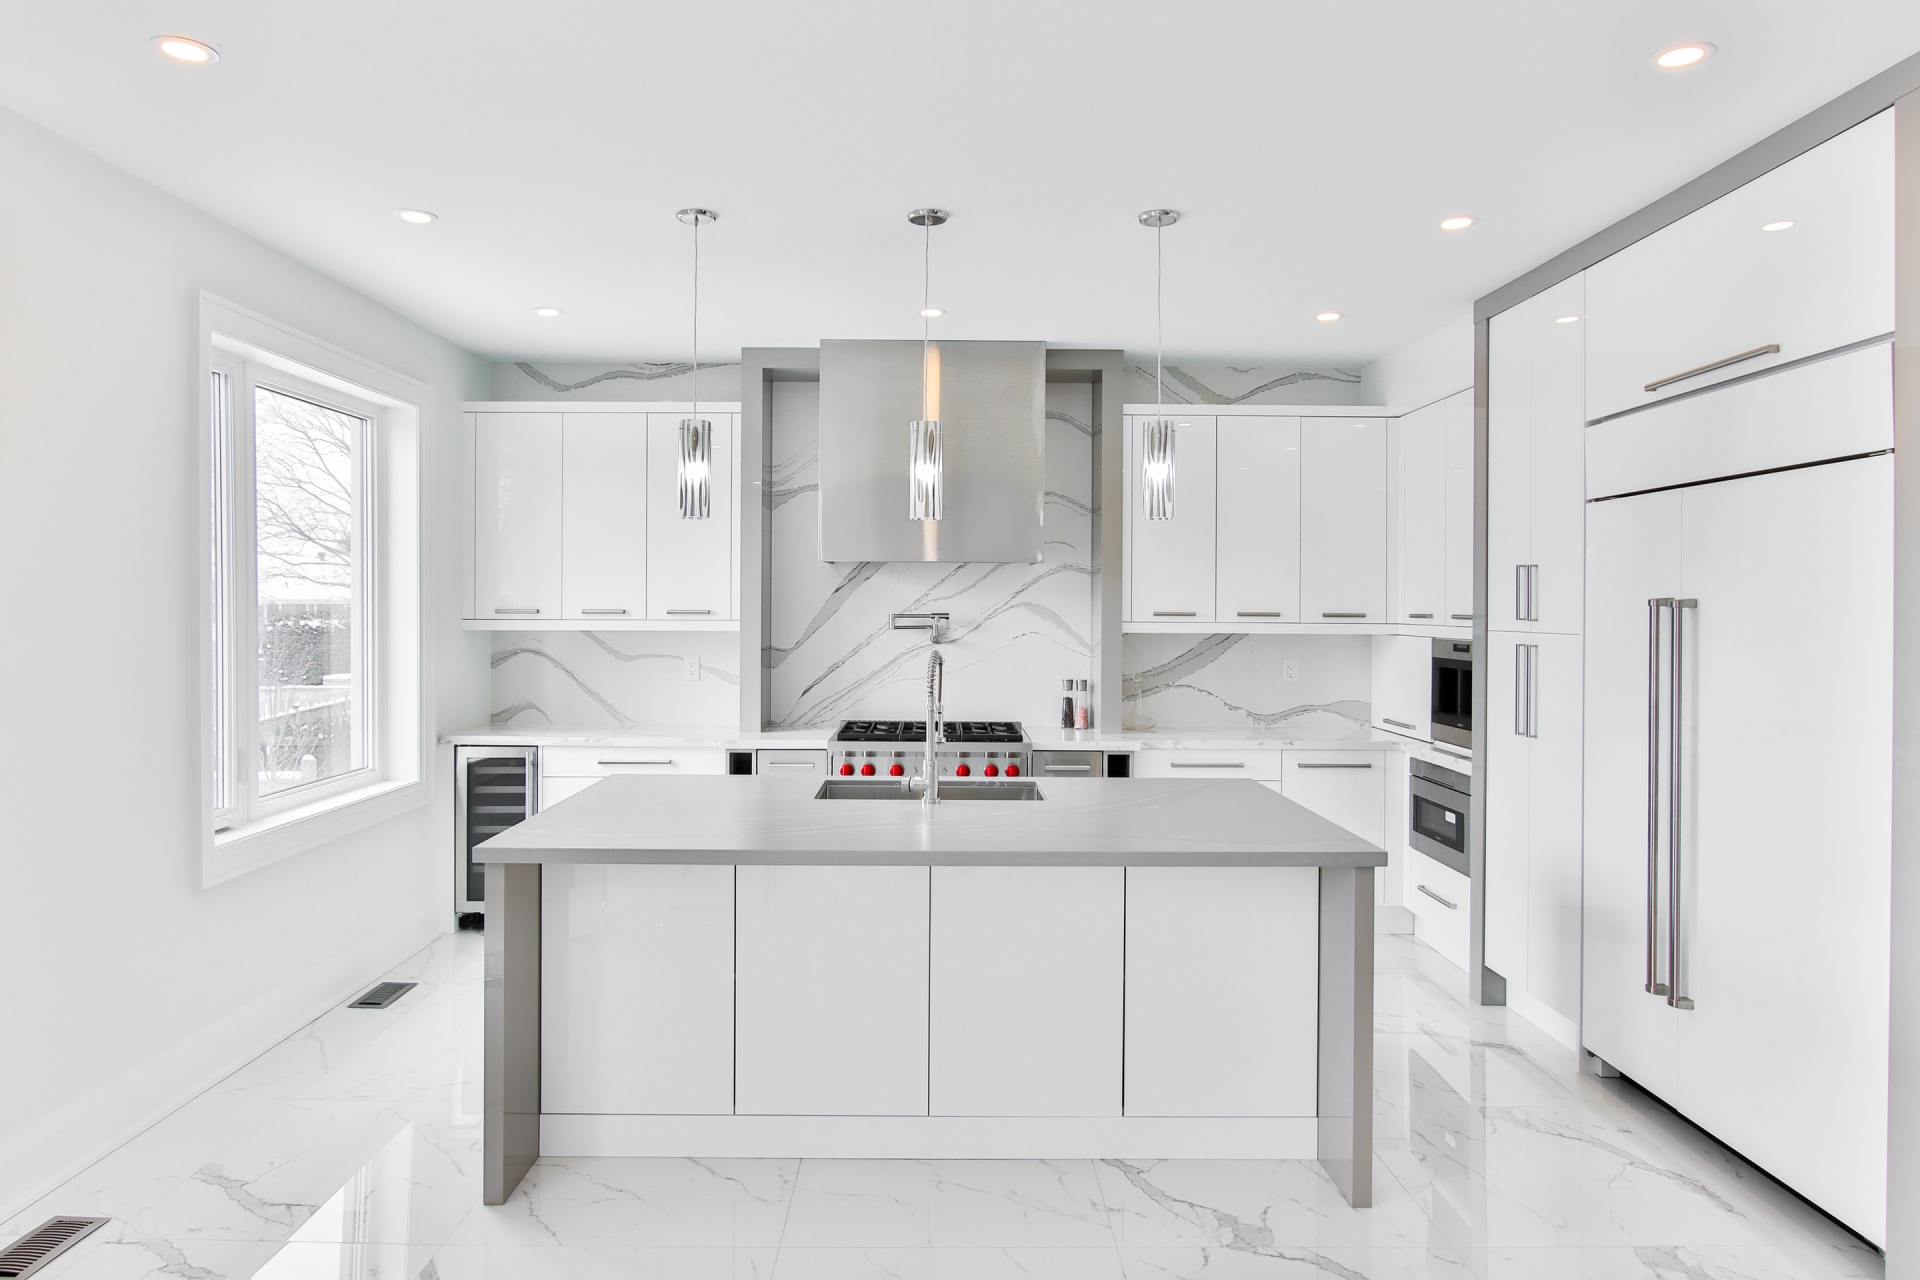
The first step in repainting kitchen cabinets is selecting the right colors. The colors of cabinets for the kitchen play a pivotal role in setting the ambiance of the space. Whether you prefer a classic look with neutral shades or want to add a splash of color with bold hues, the choice is yours. Remember, the right kitchen cabinet colors can make your space appear larger, brighter, and more inviting.
Step 2: Prepare Your Workspace
Before you start to paint your cabinets, it's crucial to prepare your workspace. Remove all contents from your cabinets and cover your countertops, appliances, and floors with drop cloths or plastic sheeting to protect them from paint splatters. Proper preparation ensures a cleaner painting process and helps avoid accidental damage.
Step 3: Remove Doors and Hardware
For a thorough and professional cabinet painting, remove the cabinet doors and hardware. This step allows you to paint every nook and cranny, ensuring a uniform coat. Keep the hardware and screws organized to make reassembly easier.
Step 4: Clean and Sand Your Cabinets
To ensure the paint adheres properly, clean your cabinets thoroughly with a degreasing agent. After cleaning, sand the surfaces lightly. This step is essential for refinishing kitchen cabinets, as it creates a smoother base for the paint to cling to, resulting in a more professional finish.
Step 5: Apply Primer
Applying a primer is crucial for achieving professional cabinet painting results. Primer helps the paint stick better and provides a more even coat, especially if you're making a drastic color change. Let the primer dry completely before moving on to the next step.
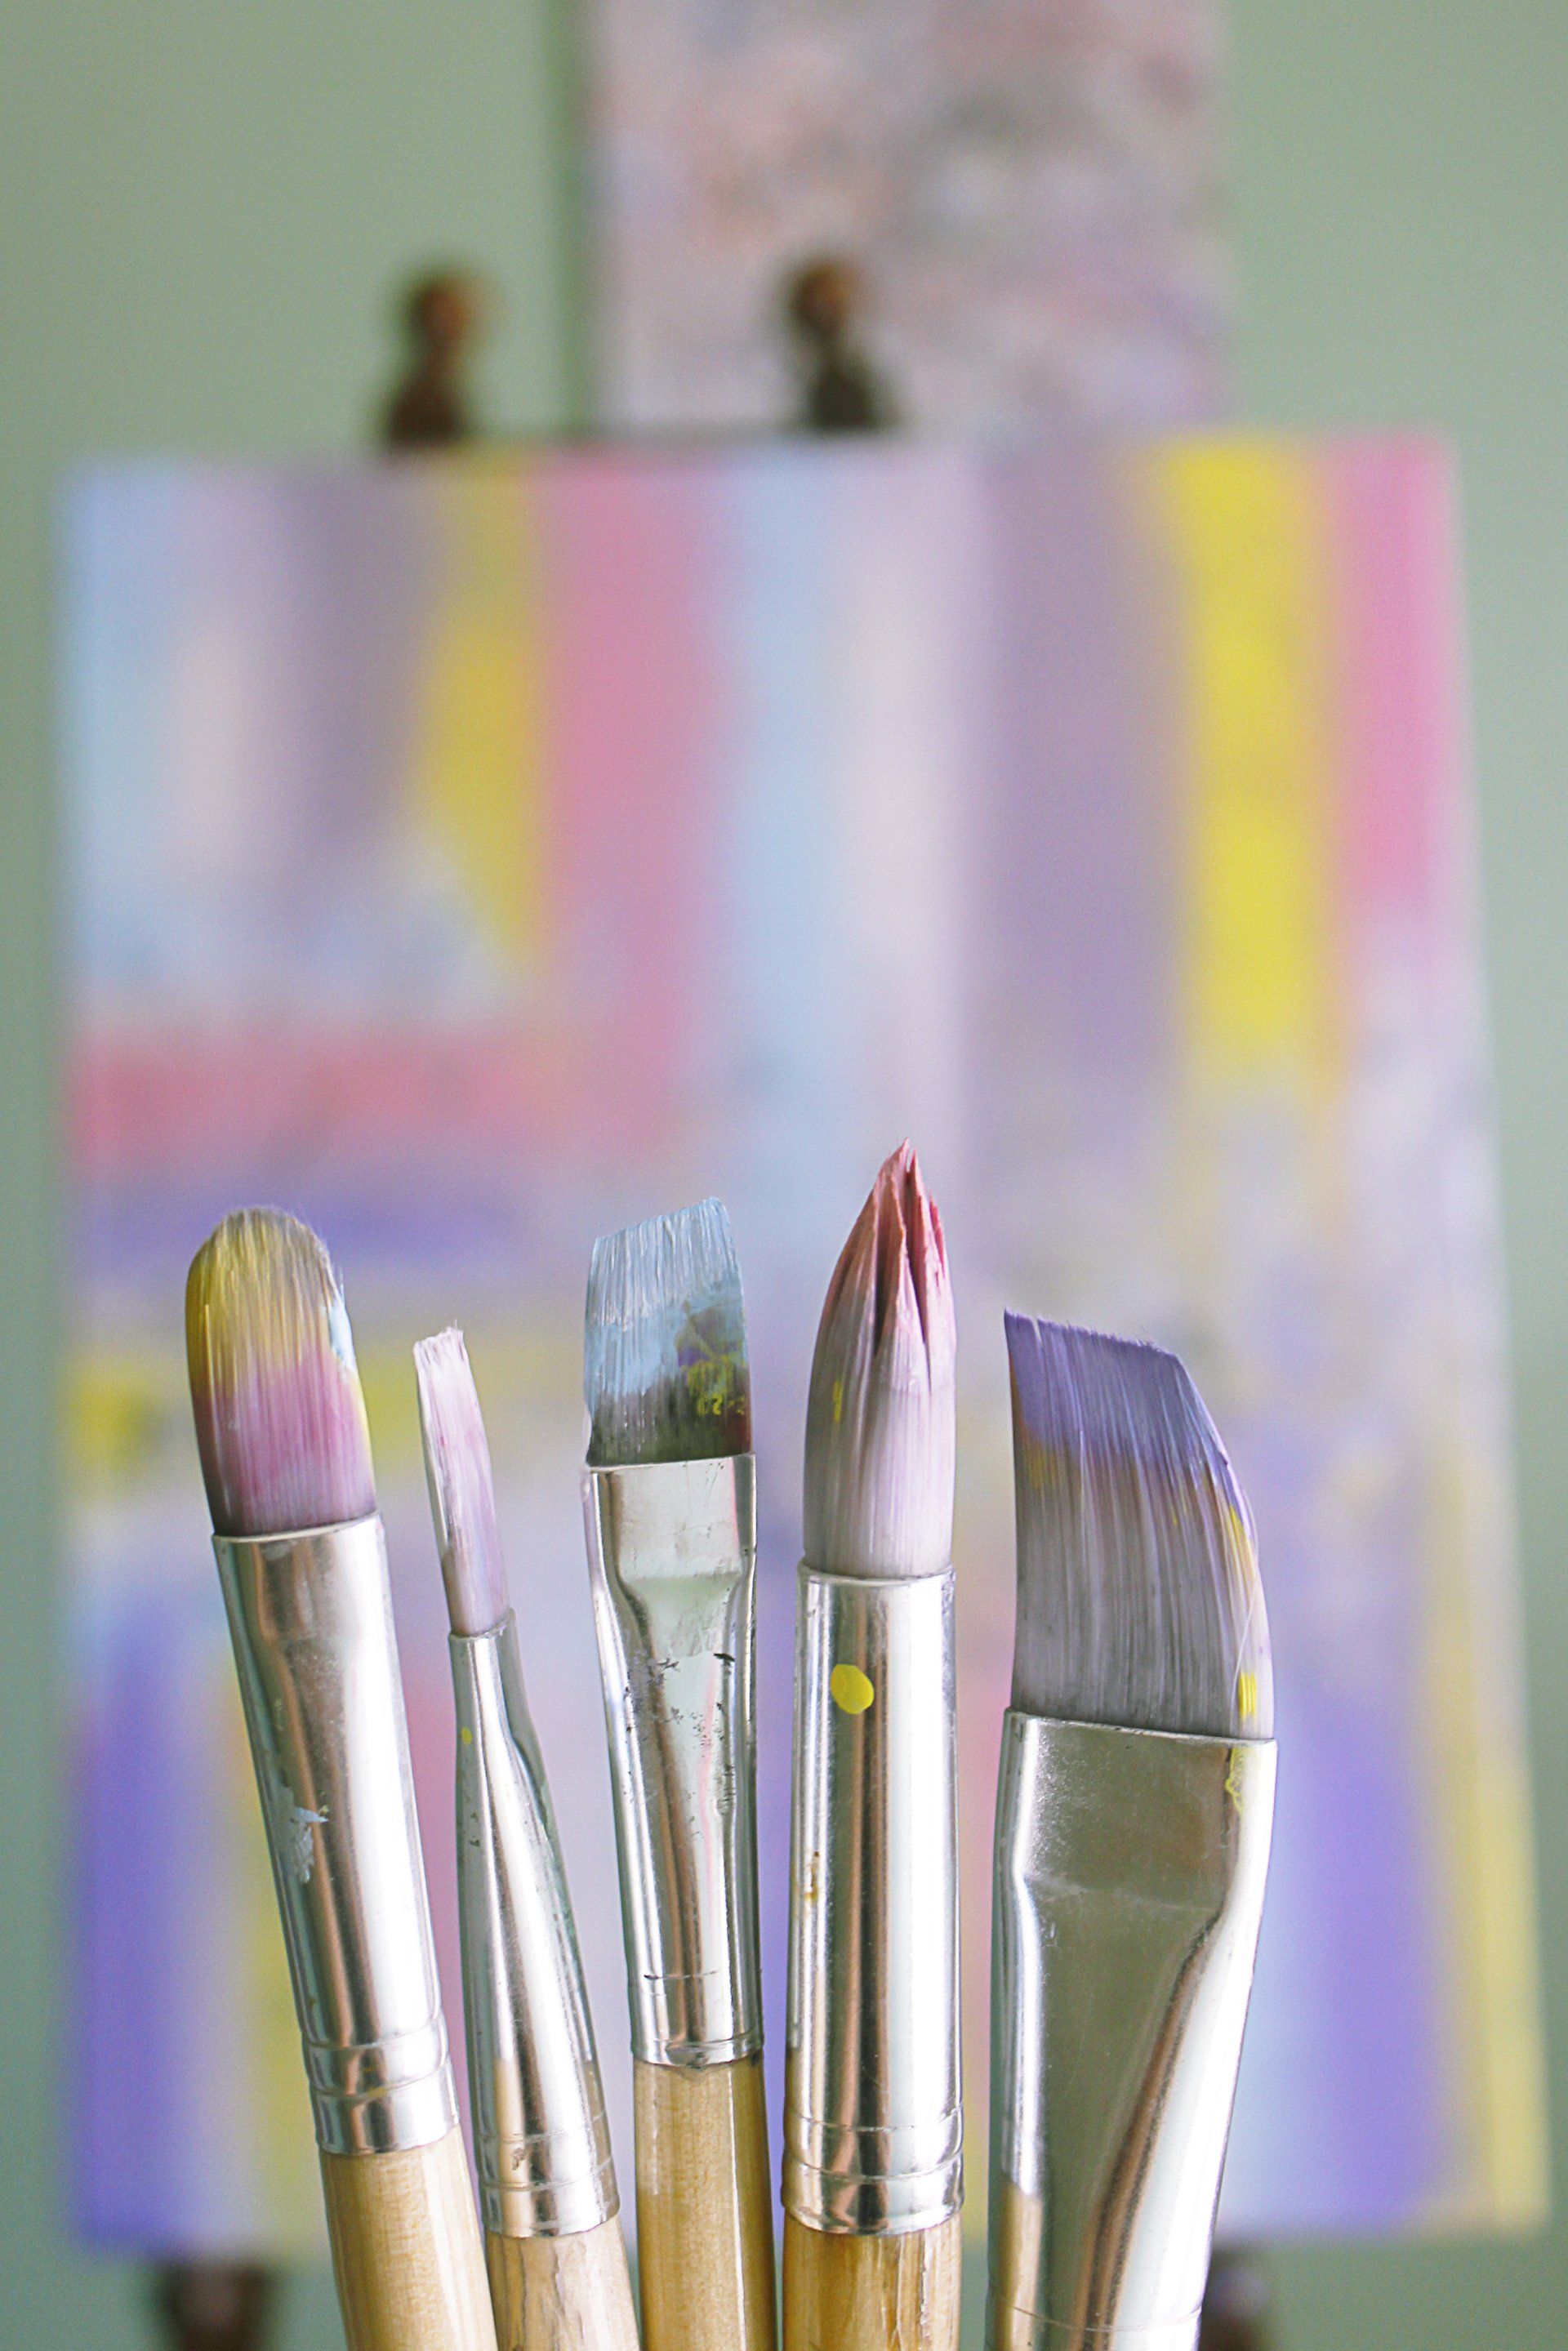
Step 6: Choose Quality Paint and Tools
For a durable and professional finish, choose high-quality paint designed for cabinetry. The type of paint you choose, whether it's oil-based or latex, will affect the durability and finish of your cabinets. Invest in good brushes and rollers to ensure a smooth application.
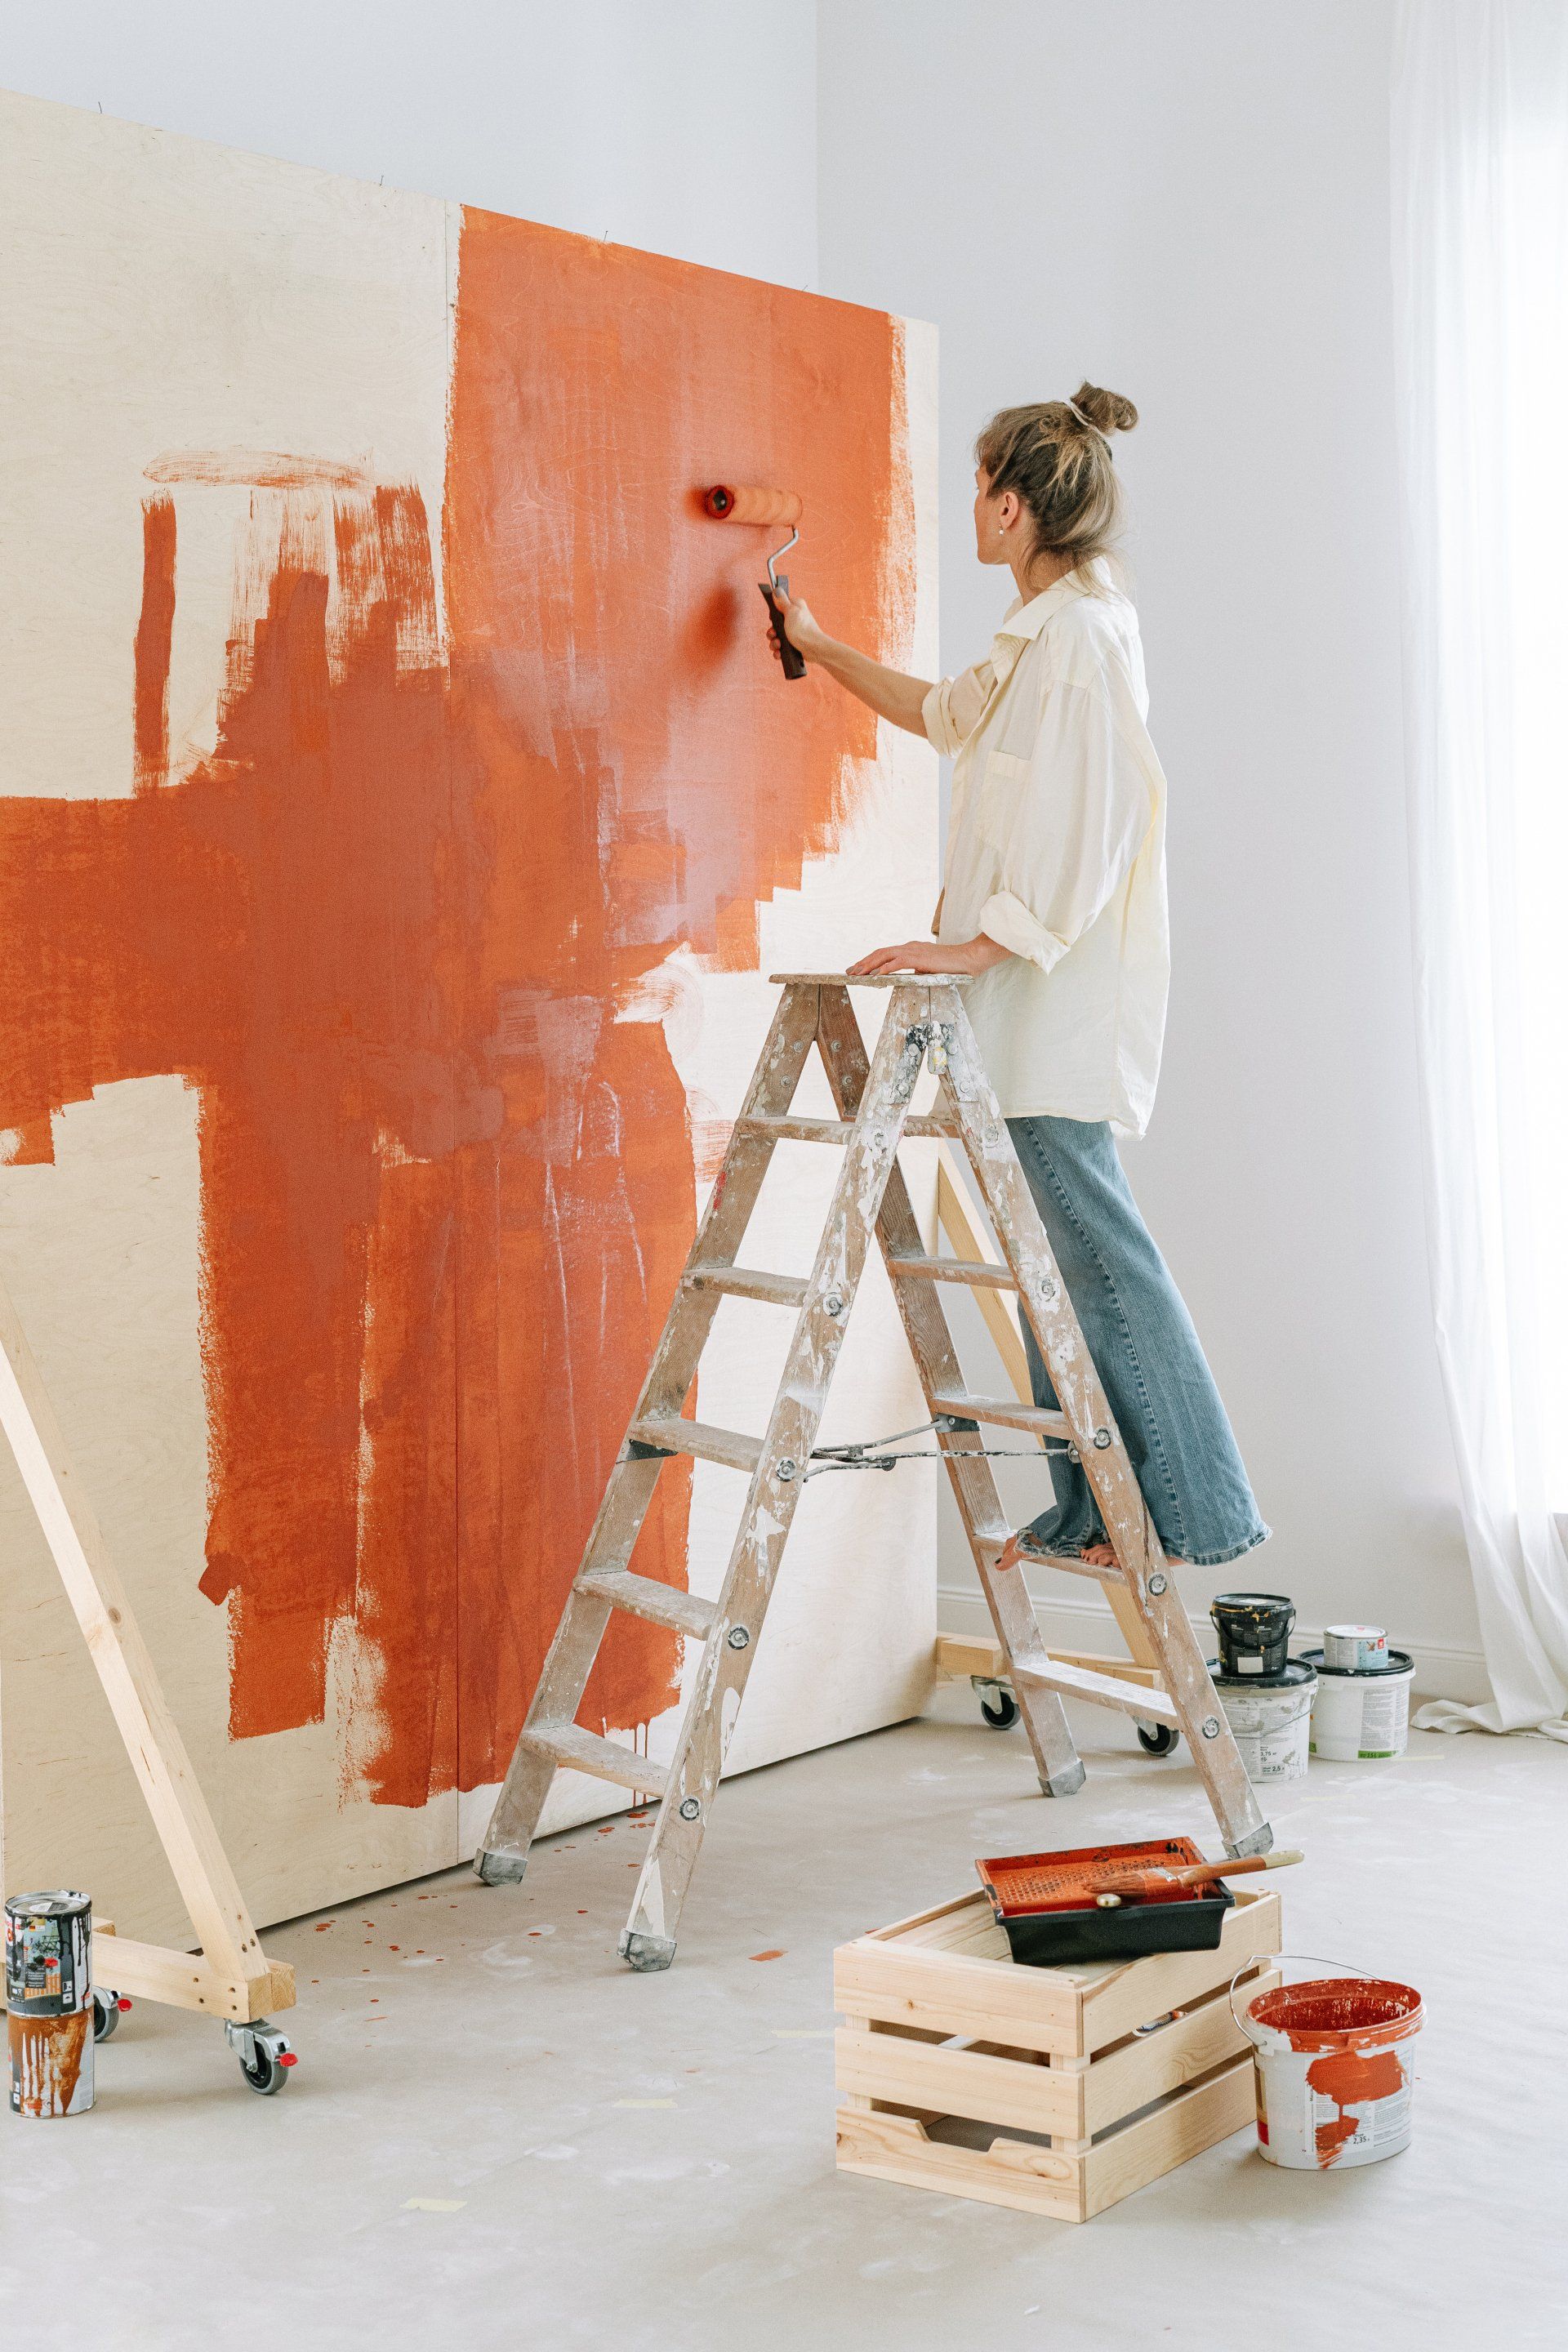
Step 7: Paint Your Cabinets
Start painting your cabinets with a brush or roller, applying thin, even coats. For professional-looking results, paint in the direction of the wood grain and allow each coat to dry thoroughly before applying the next. Patience during this step will pay off with a smoother finish.
Step 8: Reattach Doors and Hardware
Once the paint has fully dried, it's time to reattach the doors and hardware. If you're considering upgrading the look of your kitchen further, this might be an excellent time to replace old knobs and pulls with new hardware.
Step 9: Clean Up
After the reassembly, clean up your workspace. Remove all protective coverings, and vacuum or sweep away any dust and debris. A clean workspace will complement your newly painted cabinets and give your kitchen a fresh, new look.
Step 10: Enjoy Your Transformed Kitchen
Congratulations! You've successfully completed your cabinet makeover. Stand back and admire your hard work. Your kitchen has been transformed with just a coat of paint, showcasing your DIY skills and adding value to your home.
Additional Tips for Cabinet Painting Success
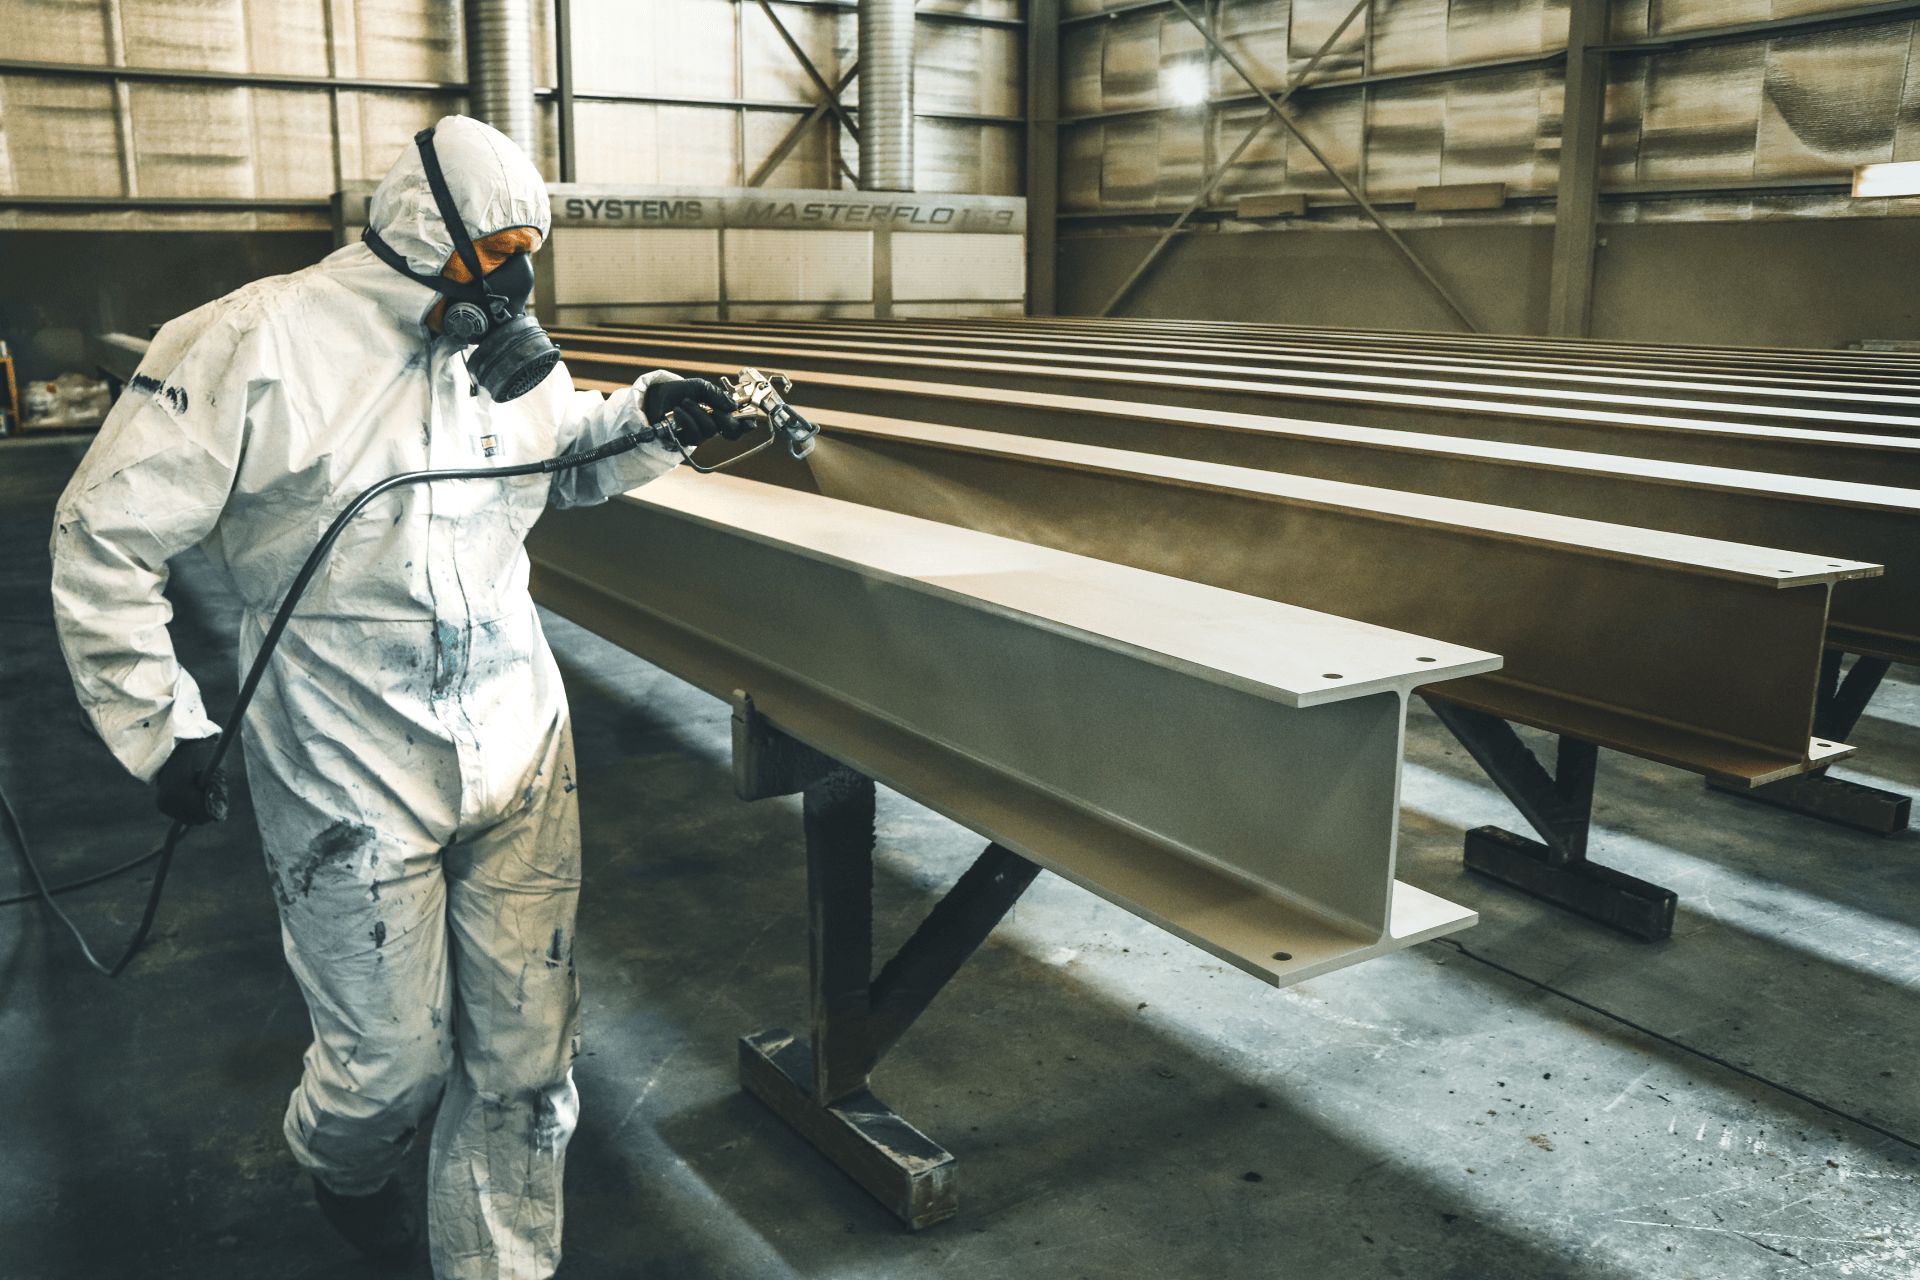
- Hire Professional Kitchen Cabinet Painters: If you're not confident in your DIY skills, consider hiring professional cabinet painting services. Kitchen cabinets Philadelphia residents recommend often come from skilled painters who can ensure flawless results.
- Understand Cabinet Painting Cost: The cost of cabinet painting can vary depending on the size of your kitchen and the type of paint used. However, it's significantly less expensive than replacing your cabinets.
- Consider Refinishing or Resurfacing: If your cabinets are in good condition, refinishing or resurfacing them can be an alternative to painting, offering a fresh look without the need for extensive work.
Transforming your kitchen with a fresh coat of paint on your cabinets is a rewarding project that can significantly impact your home's overall aesthetic and value. By following these steps and incorporating the latest trends in kitchen cabinet colors, you can achieve a professional-looking finish that will make your kitchen stand out. Whether you tackle the project yourself or hire a
cabinet painting company, the result will be a kitchen you'll love spending time in.